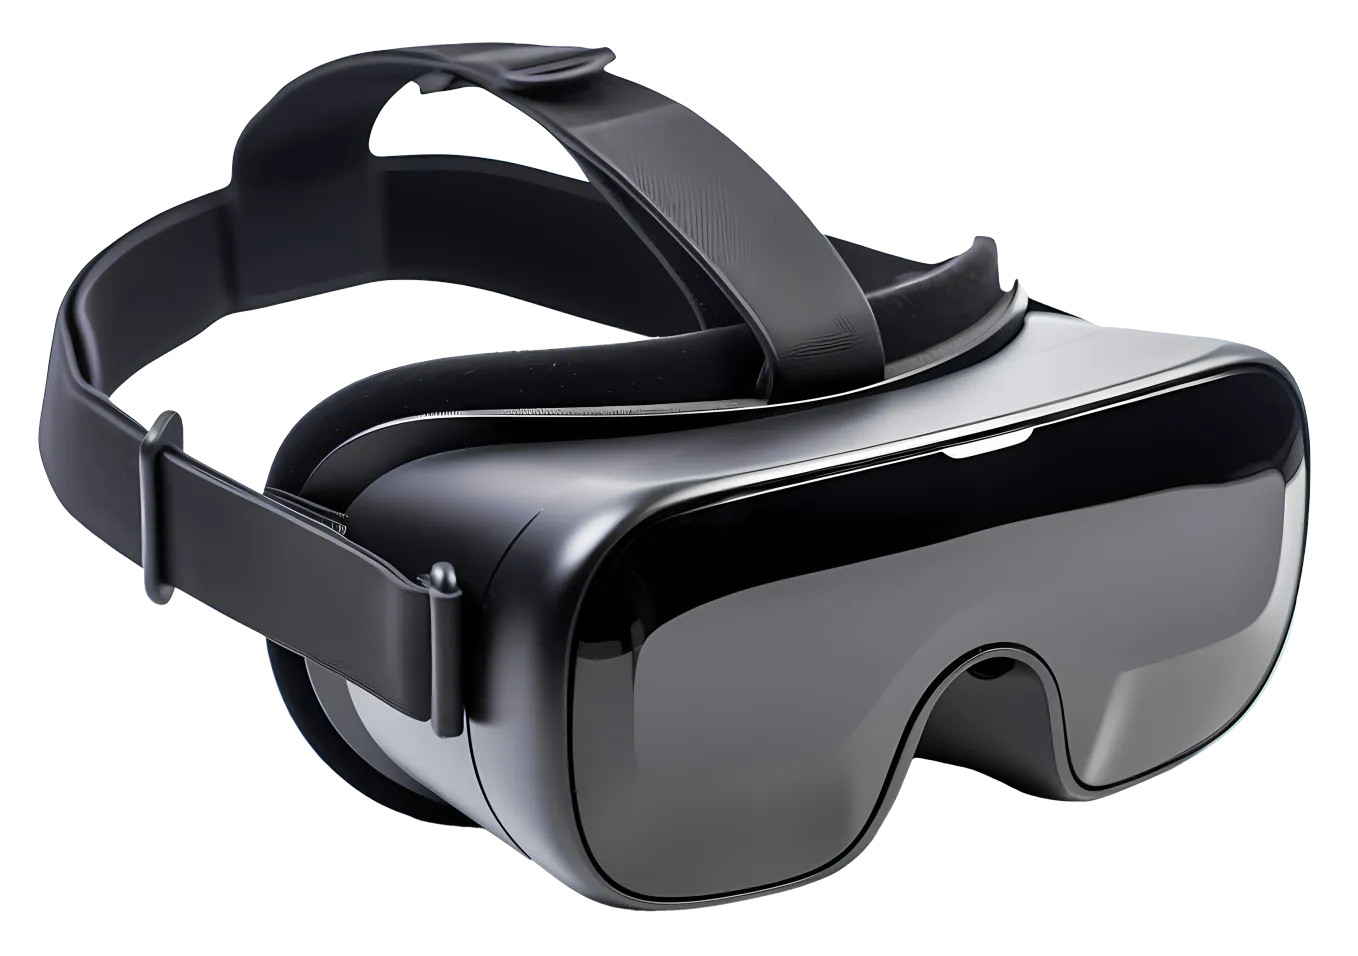
VR TRAINING
FOR SURGEONS
Your first step to effective work with patient-specific implants in a VR environment.
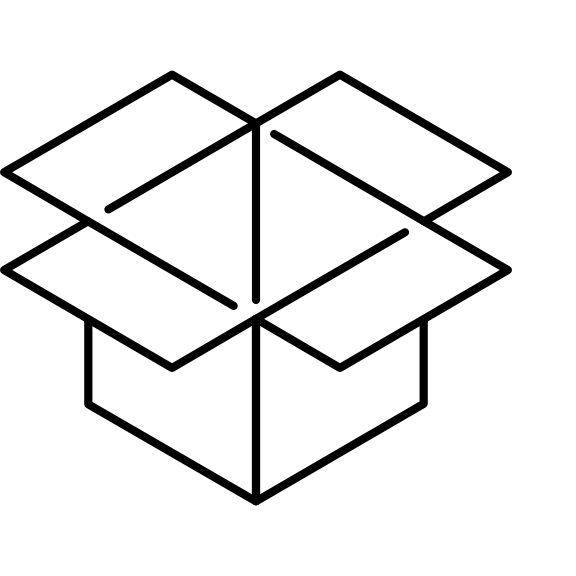
A quick-start guide: unboxing, headset setup, logins, recordings and collaborative work with the designer in a virtual room.
Why we use VR
QUICK START


STEP-BY-STEP VIDEO GUIDES
Materials are grouped by learning logic. You can use the search by lesson name.
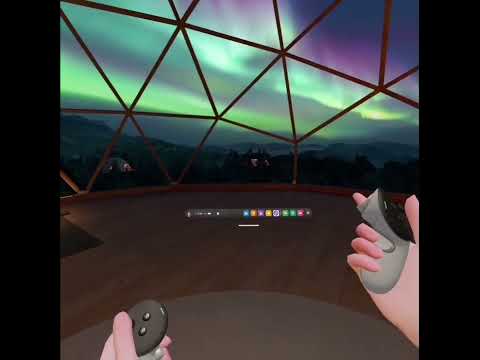
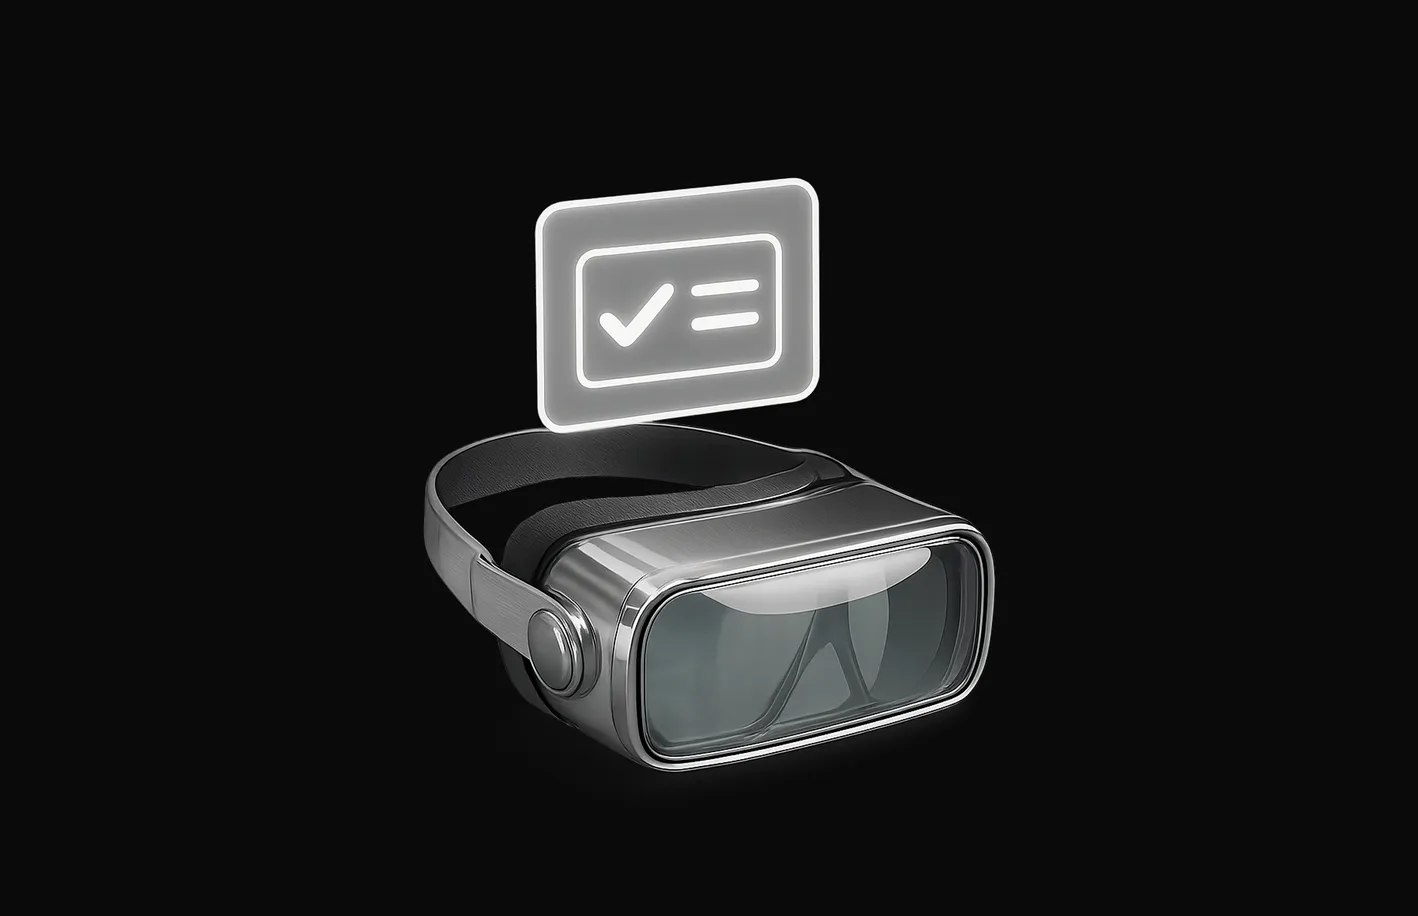
SKILLS FOR WORKING WITH THE DESIGNER IN VR
Short demos and a checklist for collaborative work.
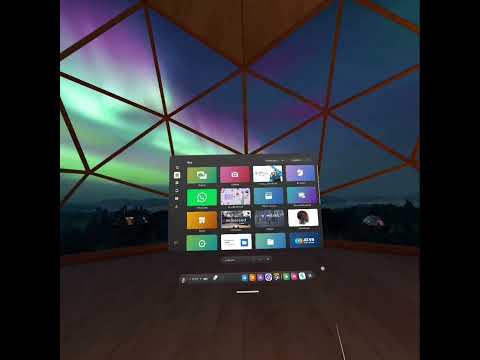
Joining the virtual room
Use the access code or invitation link from the designer.
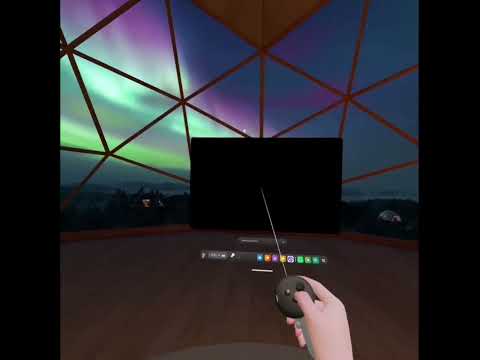
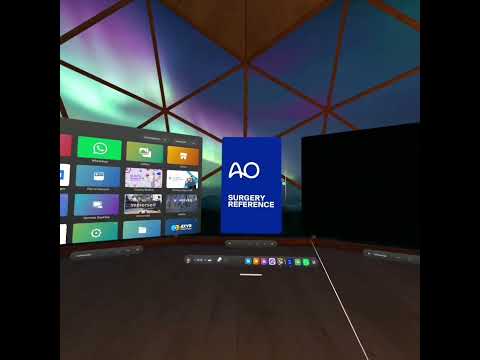
How to show the implant zone
Selecting the area, layer navigation, point markers.

Comments and revisions
Voice notes, text annotations, model markup.

Ending the session and saving
Screenshot/video export, meeting summary.
- Check Wi-Fi quality (minimum 30 Mbps stable).
- Log in with your work Google account (access to the shared folder).
- Invite the designer via room link or code.
- Mark the implant zone with comments and timestamps.
- End the session, save the recording, confirm via email.
FREQUENTLY ASKED QUESTIONS
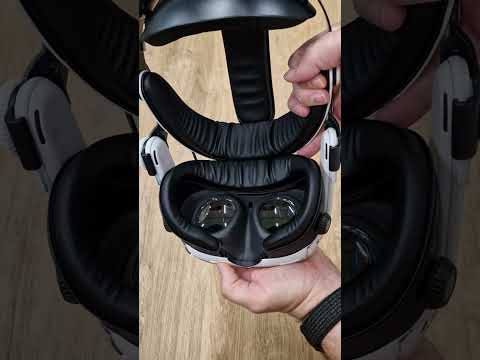
Check the battery level — charge for 30+ minutes. If the indicator light doesn’t come on, hold the power button for 10–15 seconds to force a restart. Try a different cable or adapter.
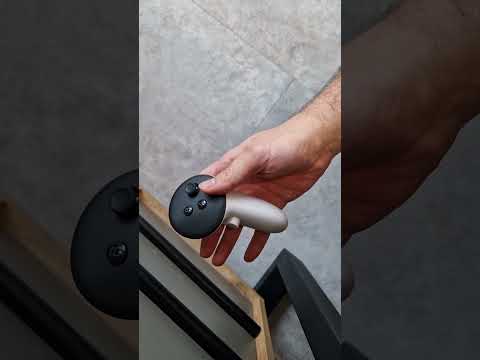
Controllers connect via the headset’s Bluetooth menu: Settings → Devices → Pair. Wired accessories connect via a USB-C OTG adapter. To cast the screen, use AirLink or the Casting feature in the Meta Quest app on PC or phone.
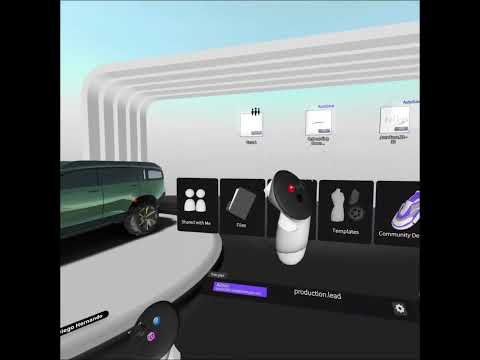
Send a request to production.lead@biodrook.com, specifying a convenient time and case number. The designer will create a VR room and send you a code or link — both accounts must be in work Google profiles to access the shared folder.
Go to accounts.google.com → Forgot password → enter your email and complete verification. If this is a corporate account, contact your administrator. We also recommend enabling two-factor authentication to protect access to shared files.
CONTACT SUPPORT
Write to us or call us. We work Mon–Fri 09:00–18:00 (UTC+2/+3).
WORKING HOURS
Mon–Fri: 09:00–18:00
Sat–Sun: by appointment
CONTACT